Introduction
This is the 2nd article of a series that will explain how to install a vault solution, vaultwarden, on a GKE cluster, and how to connect to it with a VPN : algo-vpn.
In the 1st article, we created the GKE cluster
In this 2nd article, we will install our VPN
In the 3rd article, we will install our vault solution : vaultwarden
Algo-VPN
What is Algo-VPN ?
Algo VPN is a set of Ansible scripts that simplify the setup of a personal WireGuard and IPsec VPN. It uses the most secure defaults available and works with common cloud providers.
Algo-VPN is available here : https://github.com/trailofbits/algo
Installation
We will use the Google Compute Engine installation guide (see here)
But first we need to preform some steps:
Get a copy of Algo
The easiest way to get algo is to clone the git repository
git clone https://github.com/trailofbits/algo.gitInstall Algo’s core dependencies
The full instructions are listed on algo’s guthub page: https://github.com/trailofbits/algo
For macOS, follow these instructions:
cd algo
python3 -m pip install --user --upgrade virtualenv
Install Algo’s remaining dependencies
The following command will install all dependencies needed by algo-vpn
python3 -m virtualenv --python="$(command -v python3)" .env &&
  source .env/bin/activate &&
  python3 -m pip install -U pip virtualenv &&
  python3 -m pip install -r requirements.txt
Set your configuration options
Open the config.cfg file and create the users that you need. It will of course be possible to remove or add users later on.
In this example, we create 2 keys
users:
  - john.smith-phone
  - john.smith-laptop
Install algo-VPN
We modified the first instructions as we already have a GCE Project. But do not hesitate to read them here.
Run the following commands. The last instruction will create
## Create the project to group the resources
### You might need to change it to have a global unique project id
PROJECT_ID=<your_project_id>
BILLING_ID="$(gcloud beta billing accounts list --format="value(ACCOUNT_ID)")"

###
# the following instruction is commented as we already have a project
###
# gcloud projects create ${PROJECT_ID} --name algo-vpn --set-as-default

gcloud beta billing projects link ${PROJECT_ID} --billing-account ${BILLING_ID}


## Create an account that have access to the VPN
gcloud iam service-accounts create algo-vpn --display-name "Algo VPN"
gcloud iam service-accounts keys create configs/gce.json \
  --iam-account algo-vpn@${PROJECT_ID}.iam.gserviceaccount.com
gcloud projects add-iam-policy-binding ${PROJECT_ID} \
  --member serviceAccount:algo-vpn@${PROJECT_ID}.iam.gserviceaccount.com \
  --role roles/compute.admin
gcloud projects add-iam-policy-binding ${PROJECT_ID} \
  --member serviceAccount:algo-vpn@${PROJECT_ID}.iam.gserviceaccount.com \
  --role roles/iam.serviceAccountUser

## Enable the services
gcloud services enable compute.googleapis.com
We now may install algo :
./algo -e "provider=gce" -e "gce_credentials_file=$(pwd)/configs/gce.json"During the installation, choose the following options:
Name the vpn server
[algo]
:
algo

[Cellular On Demand prompt]
Do you want macOS/iOS clients to enable "Connect On Demand" when connected to cellular networks?
[y/N]
:
N

[Wi-Fi On Demand prompt]
Do you want macOS/iOS clients to enable "Connect On Demand" when connected to Wi-Fi?
[y/N]
:
N

[Retain the PKI prompt]
Do you want to retain the keys (PKI)? (required to add users in the future, but less secure)
[y/N]
:
y

[DNS adblocking prompt]
Do you want to enable DNS ad blocking on this VPN server?
[y/N]
:
N

[SSH tunneling prompt]
Do you want each user to have their own account for SSH tunneling?
[y/N]
:
N

Enter the number of your desired region
[28]
:
<choose you region. europe-west4 is the same as our GKE cluster>
At the end of installation, do not forget to copy the p12 and SSH key password for new users and the CA key password in a safe place.
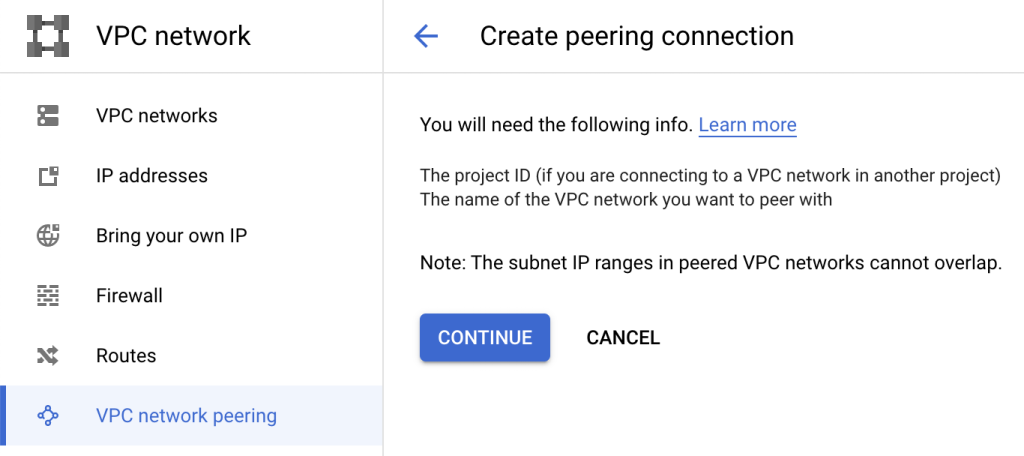
VPC Peering
When we run the algo-vpn ansible installation, it creates a new VPC called algovpn.
We need to connect this VPC with the GKE cluster VPC, previously created.
This is done on GCP console


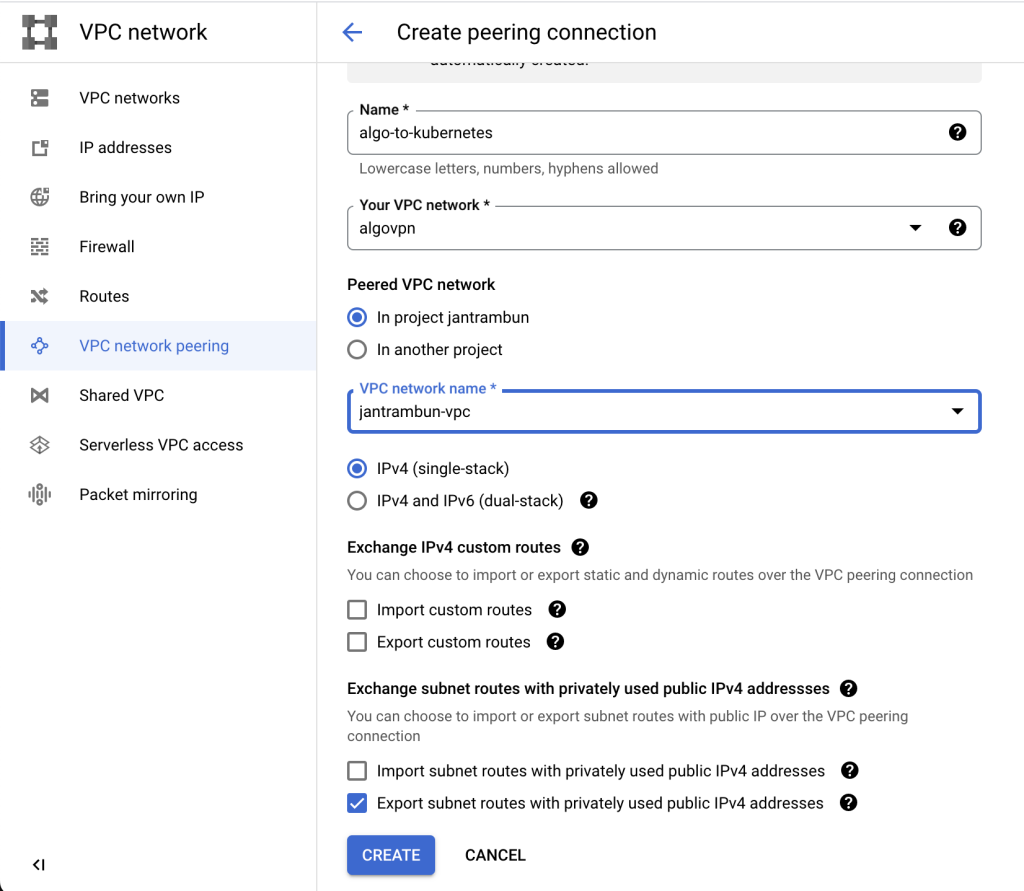
We need to create two peering:
- from algo-vpn VPC to kubernetes VPC (named
algo-to-kubernetes) - from kubernetes VPC to algo-vpn VPC (named
kubernetes-to-algo)

Wireguard clients
The VPN is now ready, and we created some users 🙂
We can connect to the VPN with wireguard (wireguard.com/), available on all platforms (wireguard.com/install/)
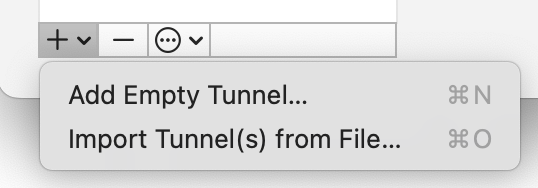
Open wireguard and install john.smith.laptop conf file:
- right-click on wireguard icon
- Manage Tunnels
- Import Tunnel(s) from File
- Select
john.smith-laptop.conf

The tunnel should be able to connect.
Issues to connect on some pages with the VPN
It is possible to force some IP addresses to use the VPN. It may be useful if you VPN is installed on the same network (in our previous post we created a subnetwork 192.168.113.0/24, see here) than your wifi router.
Supposing that you install your vault on IP 192.168.1.27, you can edit your wireguard conf file :
[Peer]
AllowedIPs = 192.168.1.27/32, 0.0.0.0/0,::/0
instead of
[Peer]
AllowedIPs = 0.0.0.0/0,::/0
Next Step
We now have :
- a running kubernetes cluster on GKE
- a active VPN
We can now install vault on kubernetes cluster and connect to it with our VPN.
Uninstall
To uninstall, simply delete the VM in GCE console.
You may also delete the service-account to get a clean GCE Project.

Leave a Reply